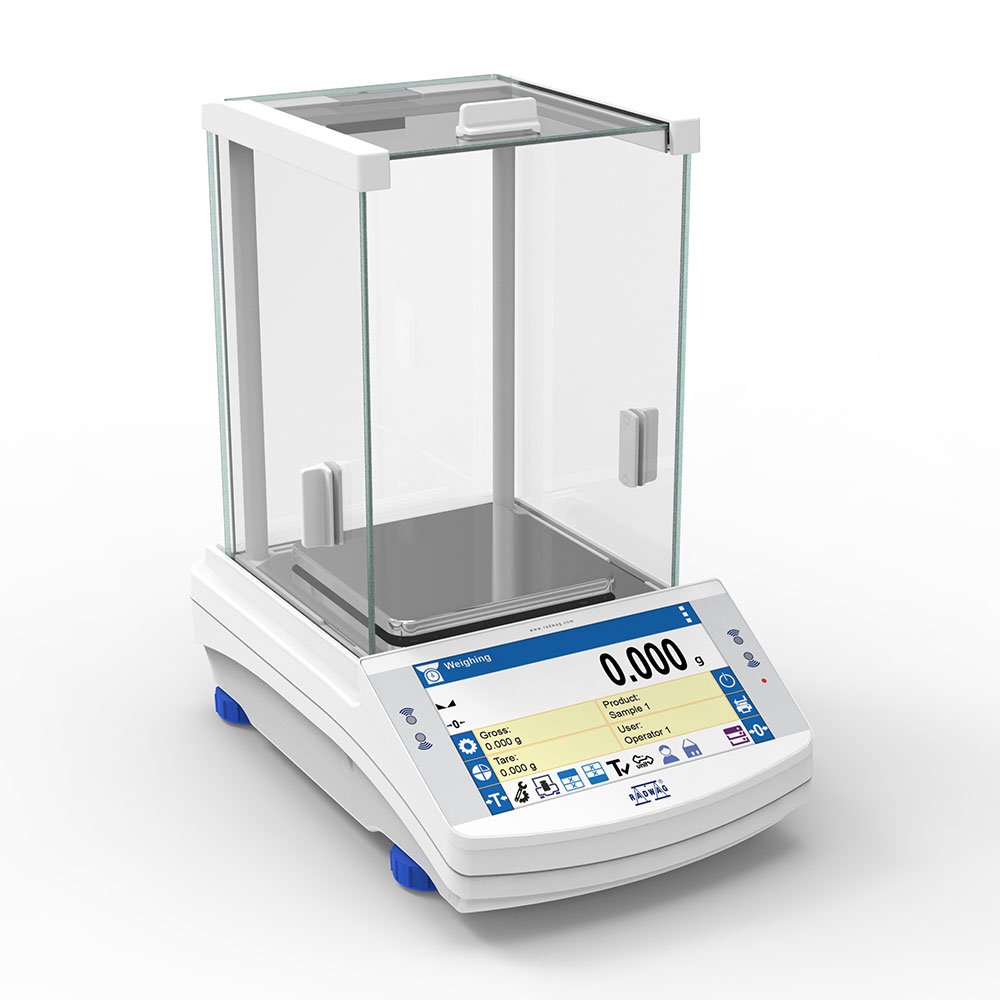
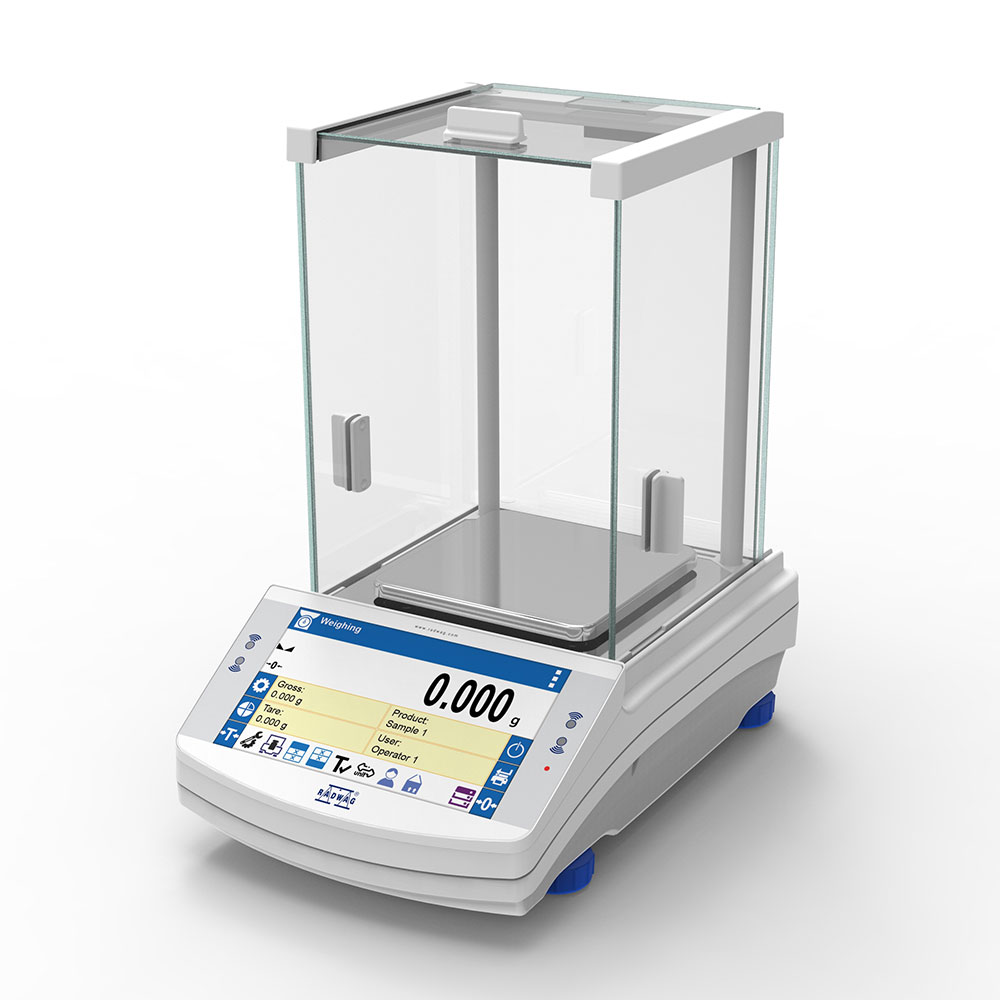
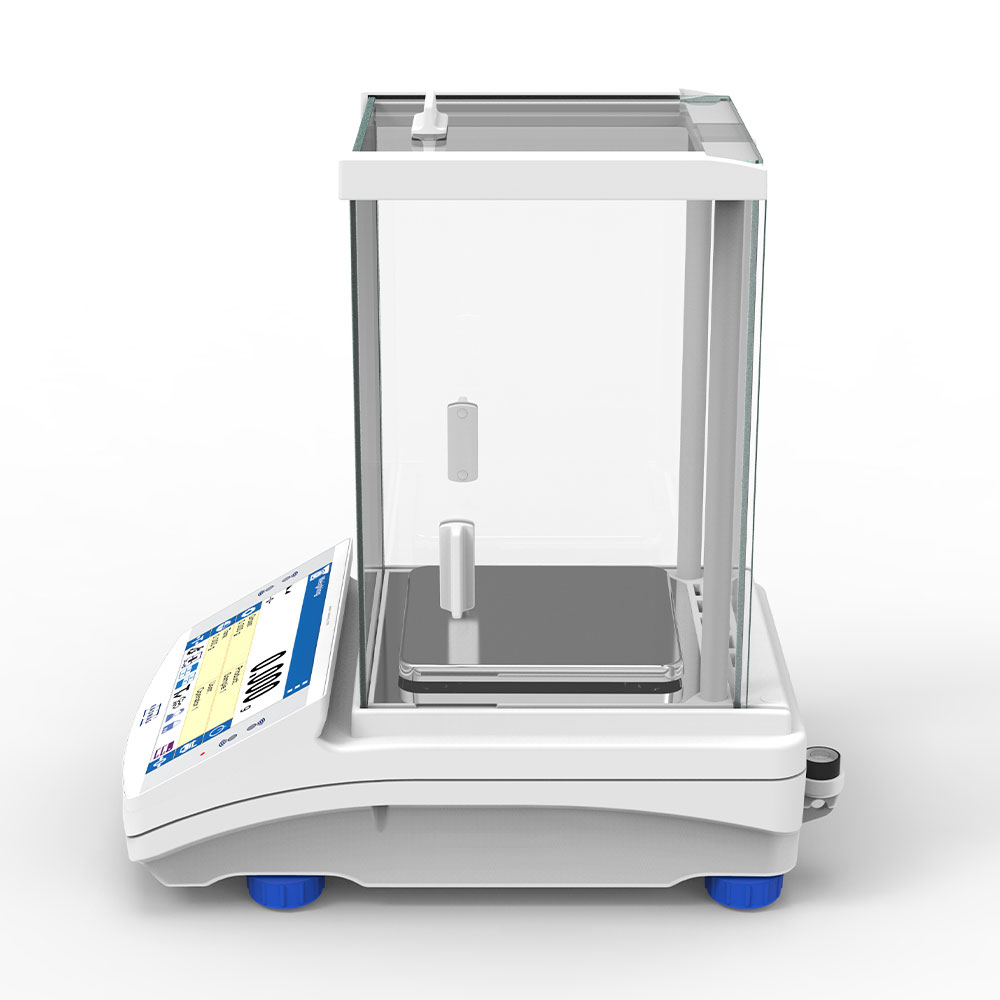
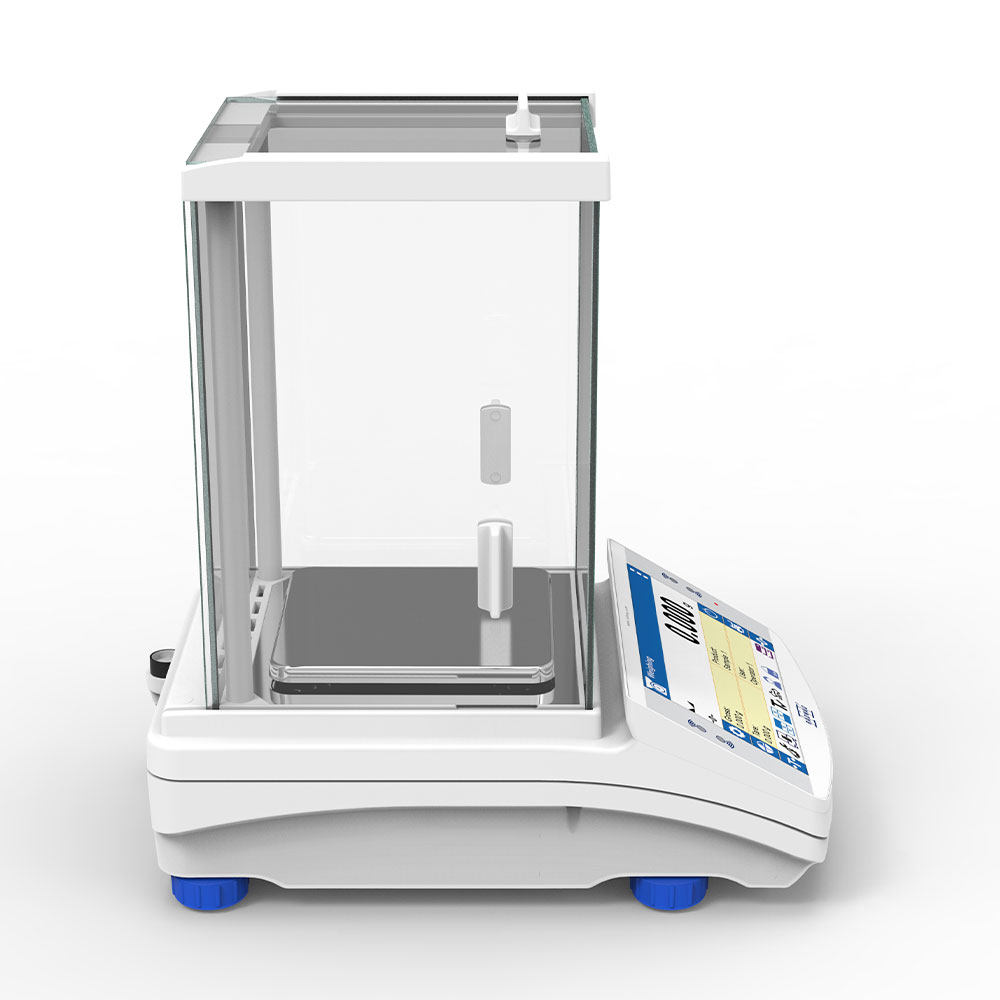
PS 210.X7 Precision Balance
Radwag – Laboratory and Industrial Weighing Solutions
Selected language English
Obraz
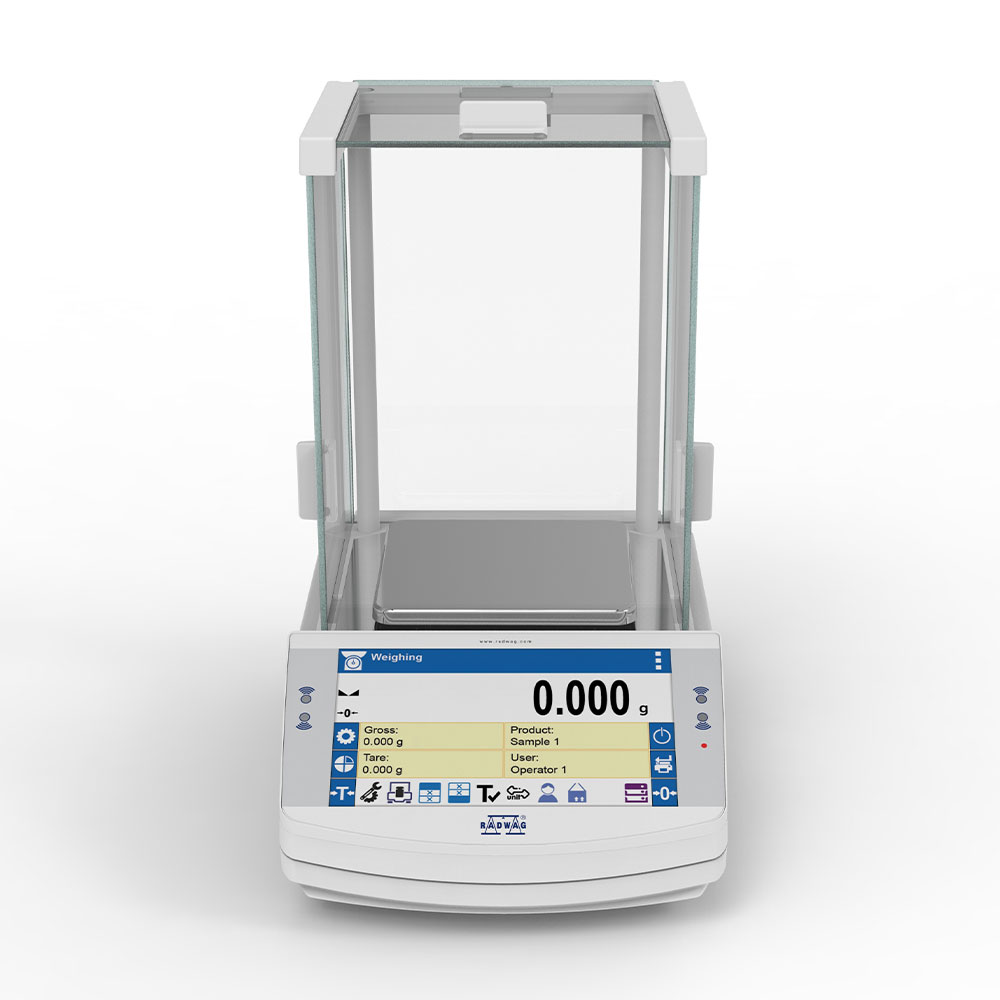
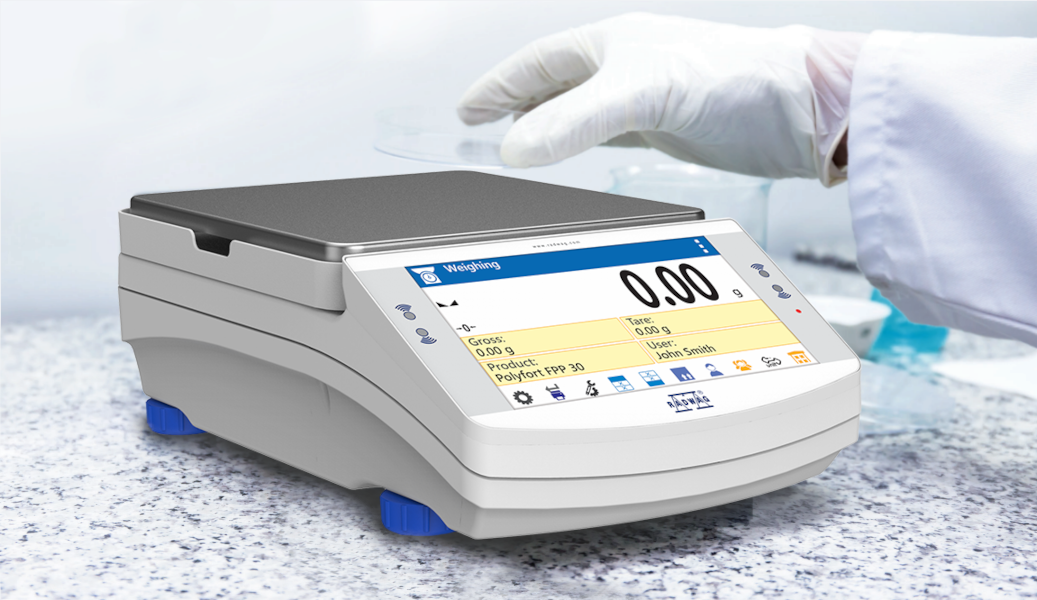
This image is for reference only.

PS 210.X7 Precision Balance

Product code: WL-226-0012
Change the model (13)
done
Max: 210gd: 1mg

 128×128mm
expand_more
Max: 200 / 2000gd: 1 / 10mg

 128×128mm
Max: 360gd: 1mg

 128×128mm
Max: 600gd: 1mg

 128×128mm
Max: 750gd: 1mg

 128×128mm
Max: 1000gd: 1mg

 128×128mm
Max: 2100gd: 10mg

 195×195mm
Max: 3000gd: 1mg

 128×128mm
Max: 3500gd: 10mg

 195×195mm
Max: 4500gd: 10mg

 195×195mm
Max: 6100gd: 10mg

 195×195mm
Max: 8100gd: 10mg

 195×195mm
Max: 10100gd: 10mg

 195×195mm
Maximum capacity [Max]: 210 g
Readability [d]: 1 mg

close
Change the model:
PS 200/2000.X7 Precision Balance
PS 210.X7 Precision Balance
PS 360.X7 Precision Balance
PS 600.X7 Precision Balance
PS 750.X7 Precision Balance
PS 1000.X7 Precision Balance
PS 2100.X7.M Precision Balance
PS 3000.X7 Precision Balance
PS 3500.X7.M Precision Balance
PS 4500.X7.M Precision Balance
PS 6100.X7.M Precision Balance
PS 8100.X7.M Precision Balance
PS 10100.X7.M Precision Balance
Select all
Show me
Download
Add to compare Advanced search
Overview

PS 210.X7 Precision Balance


PS X7 Precision Balances are distinguished by their simplicity of use, clarity of menu and intuitive layout of information on the display. Much of this is due to the 7-inch touchscreen display, but the latest generation of capacitive display, which provides maximum operating comfort, is not the only advantage of these balances.


Precision and comfort

PS X7 Precision Balances have a readability [d] of 1 to 10 mg, and a maximum capacity [Max] of 200 to 10,100 g; both of these parameters vary depending on the model. An advantage of this series balances is internal (automatic) adjustment, which relieves the user from having to carry out this complicated and precision-demanding procedure himself.

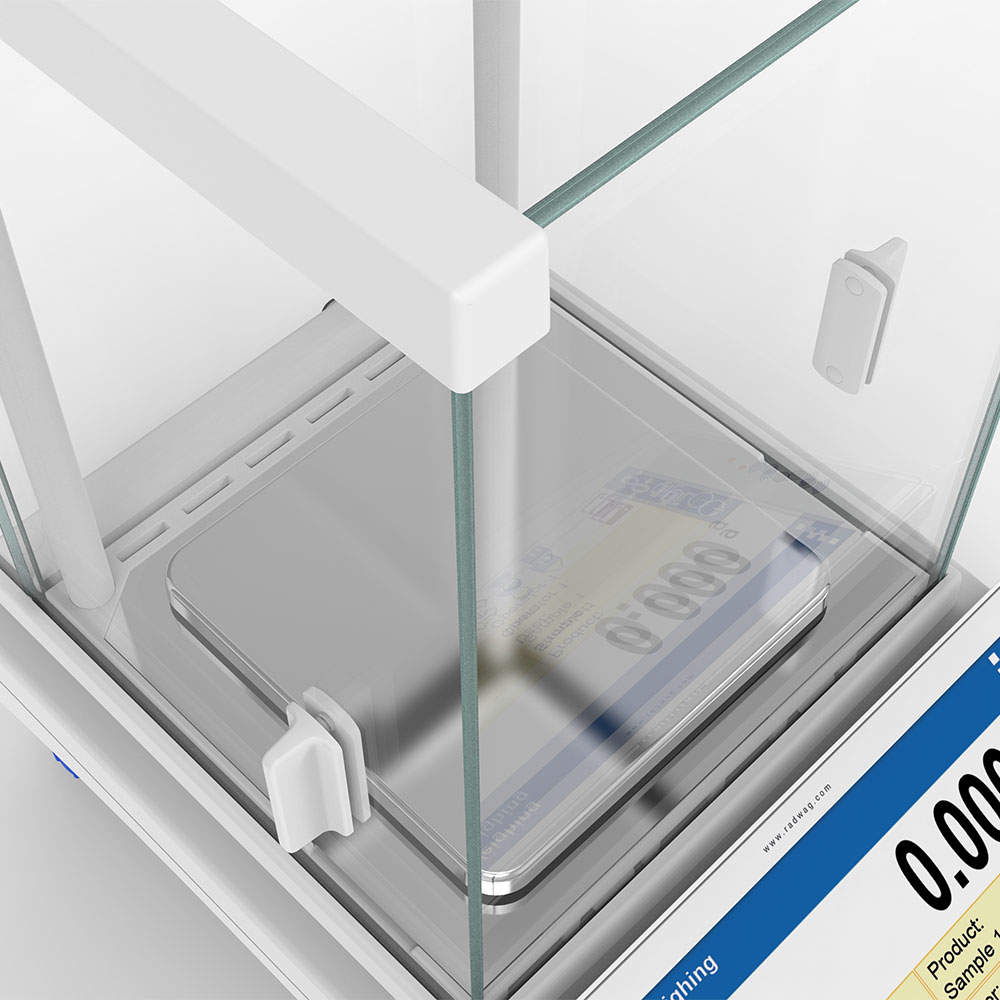
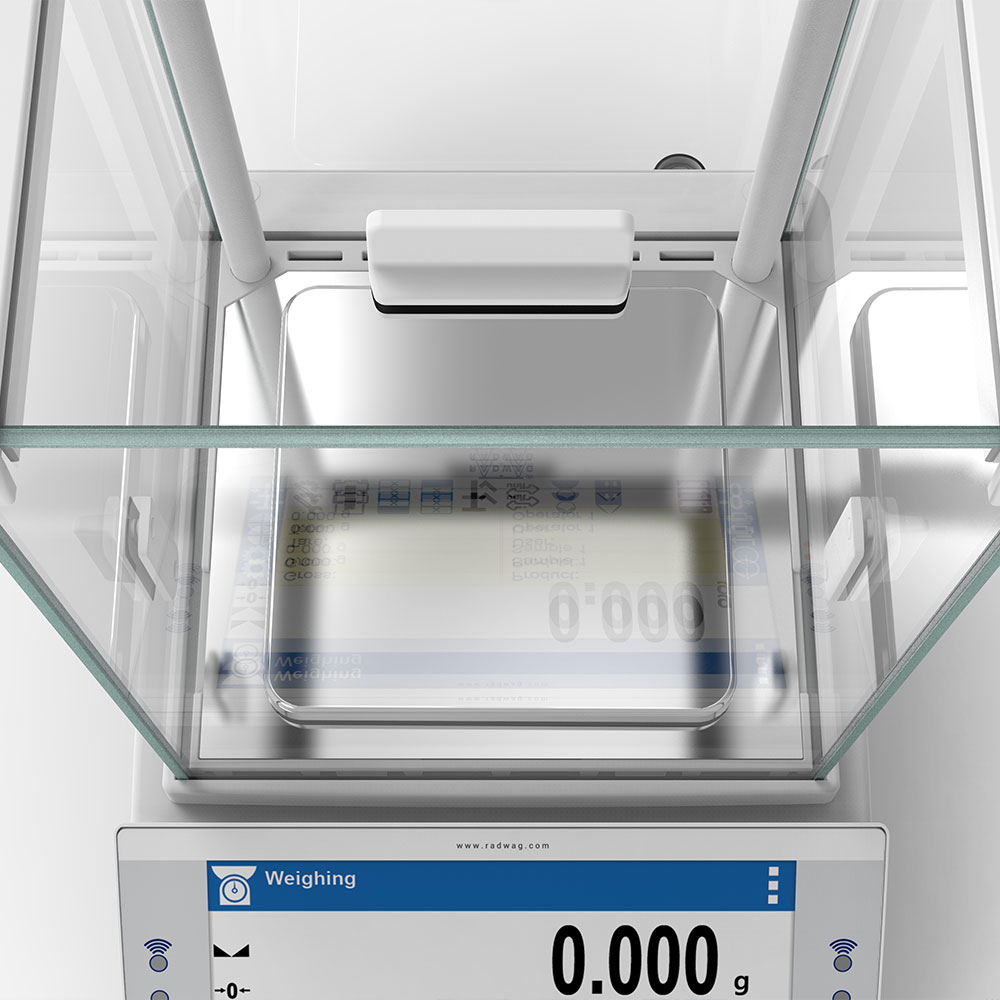
The PS X7 balances are equipped with two infrared sensors, which allow for non-contact operation. Built-in IR sensors allow numerous operations (e.g. tarring, transmitting the result to a printer or selecting successive steps of a particular process, etc.) to be performed handsfree, by simply moving a hand across the sensor. The balances housing is made of plastic, and the pan is made of stainless steel.


New Possibilities

PS X7 Precision Balances enable user to design the layout of the information on the display through a wide selection of widgets. Personalizing the PS X7 balance display gives access to information and operating results directly from the main display panel.

PS X7 Precision Balances are equipped with multiple communication interfaces: 2 x RS232, USB-A, USB-B, Ethernet and Wi-Fi®. The balances housing is made of plastic, and the pan is made of stainless steel.


Databases

In PS X7 Precision Balances the information system is based on 7 databases which allow several users to work with database storing several products. The registered weighing results can be subject to further analysis.
The data is registered in 7 databases:
  • Users (up to 10 users),
  • Products (up to 5 000 products),
  • Weighments (up to 50 000 weighments),
  • Packaging (up to 100 packaging types),
  • Formulas (up to 100 formulas),
  • Clients (up to 1000 clients),
  • ALIBI memory (up to 512 000 weighments).
In addition, the reports on formulas can be made (up to 500 reports).


Weighing Data Management

USB interface facilitates quick transfer and copying of any results of your work (measurements, reports, databases) to a computer or another balance. Data management on the balance is also possible online, through remote access to the balance and its database.


ALIBI Memory

PS X7 Precision Balances feature ALIBI memory, which guarantees safety as it automatically records measurements, and allows data prereview, copying and archiving.

The ALIBI memory allows to record up to 512 000 weighment records.
 
 
Under-pan weighing
Weighing instruments purchased after 15th February 2023 will allow under-pan weighing at any time after the purchase. All you need to do is just to order a dedicated hook.
 
THBR 2.0 System
Cooperation with THBR 2.0 System for ambient conditions monitoring.


Stainless Steel in RADWAG products
Learn about the use and maintenance of stainless steel products:
Stainless Steel in RADWAG products. Standard and special applications

Wi-Fi® is a registered trademark of Wi-Fi Alliance®.

Check the price in our store

radwaguk.com

Buying from the producer is all about the pros

 
✓ Update as standard

You always get the latest version of the device and software. We are constantly improving our products.

✓ This is priceless

Technical support from the product developers. Who better to know the answers to your questions? Like our Facebook – profile – stay in touch with us.

✓ Smaller carbon footprint

A solidly packaged shipment travels only one way – the one to you.

✓ Long life for your balance

In our permanent offer you will find accessories for our balances and scales, such as cables, weighing pans and power supplies, as well as all spare parts. And we carry out legalization and periodic inspections in our laboratory.

✓ The important thing

You buy a product developed and manufactured in Europe – you get a device with a certain standard of compliance.

Datasheet
Maximum capacity [Max]

210

 g

Minimum load

20

 mg

Readability [d]

1

 mg

Verification unit [e]

10

 mg

Tare range

-210

 g

Standard repeatability [5% Max]

0.5

 mg

Standard repeatability [Max]

1

 mg

Standard minimum weight (USP)

1

 g

Standard minimum weight (U=1%, k=2)

0.1

 g

Linearity

±2

 mg

Stabilization time

2

 s

Adjustment

internal (automatic)


OIML Class

II


Leveling system

manual


Display

7″ graphic colour touchscreen


Delivery components

Balance, weighing pan, weighing pan shield, grounding bumper ×1, bumper ×3, power supply.


Weighing pan dimensions

128×128

 mm

Packaging dimensions

545×455×575

 mm

Net weight

3.54

 kg

Gross weight

5

 kg

Protection class

IP 43


Database capacity

7


Touch-free operation

2 IR Sensors


Communication interface

2×RS232¹, USB-A, USB-B, Ethernet, Wi-Fi®


Power supply

Adapter: 100 – 240V AC 50/60Hz 0.6A; 12V DC 1.2A
Balance: 12 – 15V DC 0.8A max


Power consumption

4 W


Operating temperature

+10 – +40

 °C

Ambient conditions monitoring (option)

THBR 2.0 System, THBR BOX, THB P, THB W, THB S


Relative humidity

40% – 80%


CE
Verification Extra payment
for verification
Repeatability is expressed as a standard deviation from 10 weighing cycles.
Stabilization time depends on the ambient conditions and the dynamics of weighing pan loading; specified for FAST profile.
1 Barcode scanners, available as weighing instrument accessory, communicate with the instrument via RS232 interface exclusively.
360°
Videos
PS.X7 & Barcode scanner
New X7 Balances. AS X7 Analytical Balances and PS X7 Precision Balances
Easy Printing with Wi-Fi® Thermal Receipt Printer by RADWAG.
PS R2 Precision Balance Unpacking and Installation (Tutorial)
Functions
Autotest

Autotest

Diagnostic function aiming at metrological parameters determination (repeatability), the parameters are determined for the actual conditions of use. When speaking of repeatability it may be also used for weighing time optimization. Autotest is operated in an automatic mode thus operator’s time is saved.
Dosing

Dosing

Weighing process for which reference mass has been determined together with tolerance for its determination. Dosing tolerance is given in [%] and it is calculated in relation to the reference value thus being a permissible deviation of this process. This solution is used for weighing powders, liquids and loose materials. Dosing function performance is often supported with bargraph - load indicator. For industrial scales it is possible to use a control systems of dosing process.
Plus/Minus Control

Plus/Minus Control

Control of sample's mass carried out with reference to specified MIN and MAX thresholds. The weight is considered to be correct if it is comprised within threshold values. A graphic visualisation of weighing result is displayed in a form of a bar graph.
Percent Weighing

Percent Weighing

Percent Weighing function is used for comparision of measured products with mass standard. Mass of a mass standard may be a numeric value taken from a database or it may be determined through a measurement process. Each measured product is compared to mass standard, mass of which is presumed as a model 100% ideal mass. For products weighing less than the mass standard, obtained results are lower than 100%, for products weighing more, the obtained results are greatly  exceeded.
Parts counting

Parts counting

Function using mass measurement for determination of  measured items quantity. Mass of a single item is required for this process. It may be either estimated through weighment or taken from a database. For items counting the following algorithm is used: all items mass / single item mass = quantity. Function operation is supperted by a mechanism of Automatic Correction of Accuracy. This allows to update single item mass in course of the process. To a certain extend Automatic Correction of Accuracy eliminates error which may be a result of different mass values of seemingly alike single elements. For industry solutions items counting may be simultaneously carried out with checkweighing and dosing thus industry solutions feature audio signalling base informing that specified number of items has been weighed. It is possible to apply weighing systems using few platfroms of different MAX capacities and different accuracies.
Peak hold

Peak hold

Function registering the greatest temporary indication occurring in course of the weighing process. It is most often used in medical scales in order to hold the measurement indication.
Formulation

Formulation

Function supporting the mixture making process, wherein the mixture contains various components. Formulation function usually uses the balance/scale database of components. Formulation serves for monitored checkweighing of every single component with a given tolerance. It is enriched with a set of individual settings.
Statistics

Statistics

Statistiscs function registers and analyses performed measurements. This supplies the user withthe following information: Max and Min standard deviation, average value, variance, range et.
Checkweighing

Checkweighing

Checkweighing function is used for checking whether the measured sample mass is within the predefined threshold values, Low [LO] and Hgh [HI]. The thresholds are given in [g] and [kg] units. Current state of a sample being measured is signalled by means of pictorgams located on a display for laboratory balances, for industrial scales Stackligt System is used. This visual +/- inspection is in operation during segregation, control or packing process of products for which mass has bees determined with a specifaied tolerance, eg. 12860 g 961
IR sensors

IR sensors

Programmable function supporting the weighing process through control of the following options: sliding weighing chamber doors, printout, zeroing, tarring etc. Especially appreciated wherever preventing the balance from soiling is important.
Under-pan weighing

Under-pan weighing

The solution enables weighing with use of a stand, which is advisable for loads of non-standard shapes and dimensions and those that generate magnetic field.
GLP Procedures

GLP Procedures

Diagnostic function allowing to objectively document performed measurements. GLP procedures may be either presented in a short report form or extended one.
Animal weighing

Animal weighing

Process of mass determination for a product which may unwillingly reposition within the weighing pan. Mass determination in such cases requires much longer period of time when compared to typical weighing process. It is the user who defines period of time needed for control of measured product mass. The user can thus optimize the function depending on the measured product characteristics.
Density determination

Density determination

Liquid or solid body density function uses the Archimedes principle and it requires a special kit to be applied. The kit when used, replaces a weighing pan. For solids mass of the sample must be determined first in the air, next in the liquid of specified density. For liquids the so called sinker, density of which has been determined, must be measured first in the air, next in the tested liquid. The density determination process is disturbed by air bubbles which may stick either to the measured sample or the sinker. In case of laboratory equipment very light solids may be measured. For industry, solid bodies density may be determined by means of  under-pan weighing. Tested load of significant size may be measured this way.
Ambient conditions monitoring

Ambient conditions monitoring

The possibility of cooperation with the THBR 2.0 system
Replaceable unit

Replaceable unit

Replaceable units.
Statistical Quality Control

Statistical Quality Control

Statistical control for determination of basic statistical criteria: maximum, minimum, standard deviation, mean values for each batch, etc.
ALIBI Memory

ALIBI Memory

"ALIBI" memory enables saving and storing up to 100000 measurements.  Measurements are saved automatically upon each pressing of the key. There is no need for any additional operations or changing settings.
The following data related with the measurements is saved: measurement date; measurement time; result (mass); tare value; operator carrying out the measurement (logged in); product name.
The software saves the measurement in a so called loop, i.e. when the measurement no. 100001 is saved, the measurement 1 gets automatically deleted from the memory.
Measurements saved to balance memory cannot be deleted.
You can preview and print out the data saved to the ALIBI database.
Mass for titrator

Mass for titrator

'Mass value for a titrator' working mode enables establishing connection between the weighing device and a titrator. The titrator receives information about the quantity of dispensed mass, and the weighing instrument receives a signal to start subsequent weighing.

Wi-Fi®

Wi-Fi®

Thanks to wireless communication between the computer and a balance, it is possible to use a balance inside a laminar flow hood and a fume cupboard.

Documentation
Datasheet
Data Sheet Data Sheet
Data Sheet

Show me
Show me
Download
Download

Choose more product:
Show me Show me DownloadDownload
User Manuals
Instalation manual
Instalation manual
Show me
Show me
Download
Download
(0.49 MB)
User Manual
User Manual
Show me
Show me
Download
Download
(22.95 MB)
Start up Guide
Start up Guide
Show me
Show me
Download
Download
(6.22 MB)
Conformity Declarations
Show me
Show me
Download
Download
(0.12 MB)
Publications and Brochures
Laboratory balance cleaning
Show me
Show me
Download
Download
(2.52 MB)
RTP Thermal Receipt Printer
Show me
Show me
Download
Download
(1.64 MB)
USB Free Link - Direct Balance-PC Communication
Show me
Show me
Download
Download
(2.07 MB)
Lexicon of Basic Metrological Terms
Show me
Show me
Download
Download
(6.31 MB)
Laboratory Balances
Laboratory Balances
Show me
Show me
Download
Download
(1.68 MB)
Stainless Steel in RADWAG products. Standard and special applications
Show me
Show me
Download
Download
(2.23 MB)
Defined Weighing Profiles
Show me
Show me
Download
Download
(1.36 MB)
X7 Series Laboratory Balances
Show me
Show me
Download
Download
(9.29 MB)
Download
Drivers

RADWAG USB DRIVER 1.6.2 (1.25 MB)

Accessories
R-LAB

Accessories

Additional modules

RES Radwag Extended SI Module3
21 CFR Part 11 Compliance Module3

Newsletter

Subscribe to the newsletter if you would like to receive RADWAG news.

View more
Radwag Balances and Scales
Torunska 5
26-600 Radom
Poland
tel.: +48 48 386 60 00
e-mail: export@radwag.com
TIN: PL7960000327
Vimeo Radwag YouTube Radwag Facebook Radwag LinkedIn Radwag
© 2024 RADWAG Balances and Scales. All rights reserved.

Select language

×
Change language AlbanianAlbanian
Change language DanishDanish
Change language NederlandseNederlandse
Change language EstonianEstonian
Change language FinnishFinnish
Change language HungarianHungarian
Change language IcelandicIcelandic
Change language KazakhKazakh
Change language LatvianLatvian
Change language LithuanianLithuanian
Change language MacedonianMacedonian
Change language NorwegianNorwegian
Change language PortuguesePortuguese
Change language RomanianRomanian
Change language RussianRussian
Change language SlovakSlovak
Change language SlovenianSlovenian
Change language SwedishSwedish
Change language UkrainianUkrainian
Change language SerbianSerbian
Change language MontenegrinMontenegrin
Change language page on Deutsch Deutsch
Change language page on Español Español
Change language page on Français Français
Change language page on Italiano Italiano
Change language page on Polski Polski
Change language page on Türkiye Türkiye
Česky
Português (Brasil)
Change website to USA USA
Change language page on 中文 中文
Presentations Presentations Presentations
Subscribe Subscribe Subscribe
Radwag in Facebook Radwag in Facebook Facebook
Radwag in YouTube Radwag in YouTube Youtube
Radwag in Vimeo Radwag in Vimeo Vimeo
Radwag in LinkedIn Radwag in LinkedIn LinkedIn
Webinars Radwag Webinars Radwag Webinars
close
E-mail:
Company name:
Name:
I consent to the processing of my personal data for marketing purposes by Radwag Wagi Elektroniczne Witold Lewandowski.
I consent to receive marketing and product-related messages by electronic means from Radwag Wagi Elektroniczne Witold Lewandowski.
I have read the Privacy Policy of RADWAG Wagi Elektroniczne Witold Lewandowski.
lock_openI want to access the files
close
Slide to go back ↩