PUE HY10 Weighing Terminal

Selected language
PUE HY10 Weighing Terminal
This image is for reference only.

PUE HY10 Weighing Terminal

Product code: WX-008-0027
close
Change the model:
PUE HY10 Weighing Terminal
Select all
View
Download
Overview

PUE HY10 Weighing Terminal


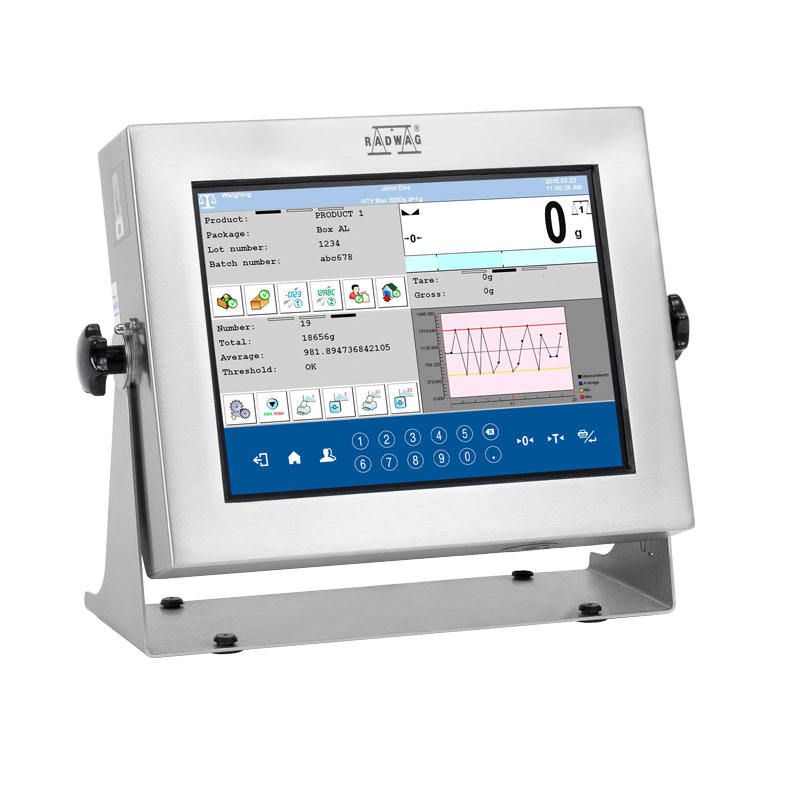
HY10 terminal is a constructional component of industrial multifunctional load cell scales, it connects with RADWAG high resolution platforms and weighing modules.

HOUSING

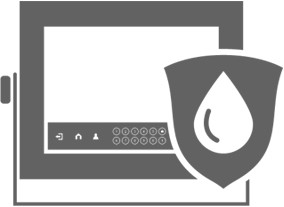
High IP rating and stainless steel facilitate operation of the terminal in challenging working conditions (high humidity, dustiness). With these two characteristics the terminal meets high hygiene standards for food and pharmaceutical industries.
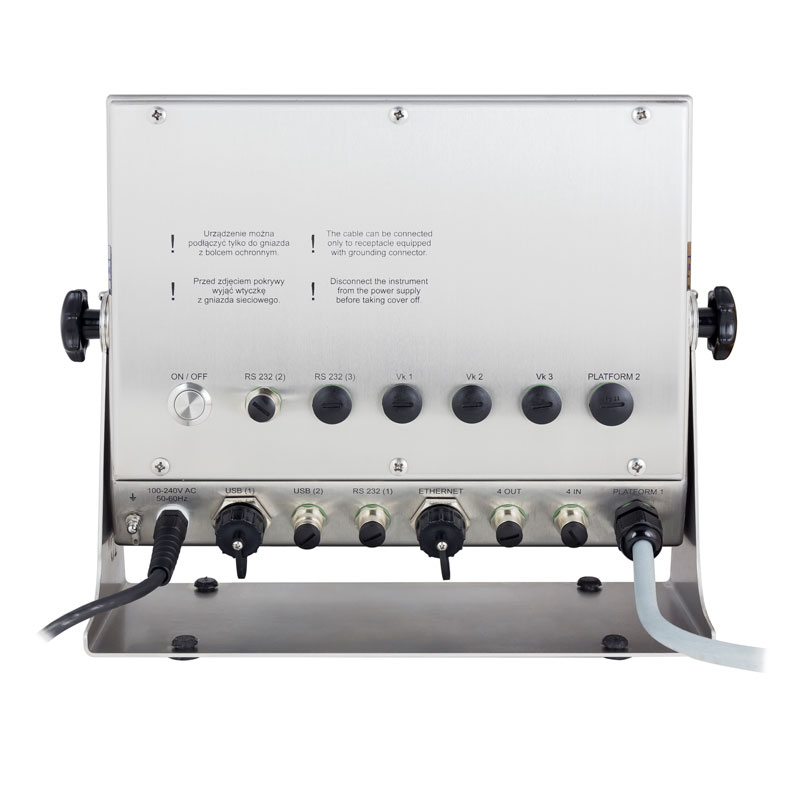
  • The terminal’s housing and base are made of stainless steel. All the HY10 connectors are fed through glands, this along with water and dust proof housing guarantee high IP rating, IP68/69.
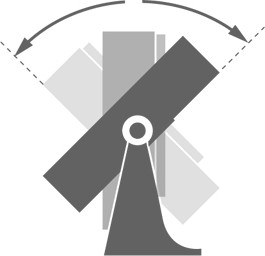
  • 2-point terminal-base fixing system allows limit-free LCD tilt. Option of tilt angle adjustment improves ergonomics of use and optimises indication visibility.
  • The terminal bracket ensures its stability during operation.
Rubber feet prevent unintentional device sliding. They cover openings through which the terminal can be permanently fixed either to a horizontal or vertical surface.
 
DISPLAY

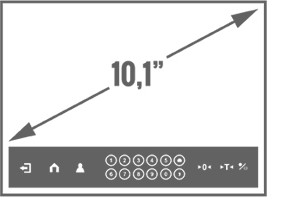
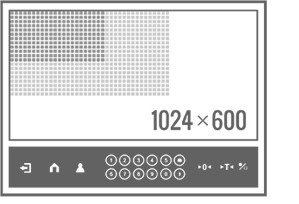
10.1” colour display of 1024x600 pixel resolution with a capacitive touchscreen
  • Large, 10.1” backlit colour display guarantees easy-to-read information even in low light conditions. The indication can be read from a considerable distance, which increases your mobility.
  • High resolution (1024x600) means high display readability providing crisper digits, symbols etc. Now you will not suffer from eye strain. The higher the resolution the greater comfort of use.
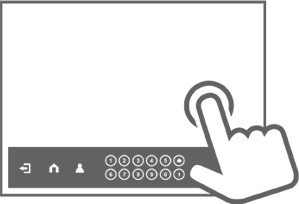
  • The touchscreen stands for ease of operation, simply trust your intuition and start to operate the device.  Now accessories such as mouse or keyboard are needless. Additional numeric keys and soft buttons provide maximum functionality.
 
 REMOTE CONFIGURATION

 
It is possible to set the HY10 terminal parameters remotely, this is done using ‘Parameters Editor 2.0’ software.
The parameters can also be set via the terminal. Use of ‘Parameters Editor 2.0’ software allows repeatable parameter setup.
Once you set all the parameters for a particular terminal, save them to a file in order to be able to copy them to terminals operating at twinlike workstations.
The set parameter configuration can be transferred either using a USB flash drive or a network. ‘Parameters Editor 2.0’ offers remote desktop option. With this solution we can carry out your terminal’s setup even if your company is located miles away from the service.
 
 
SCREEN EDITOR

 
Customized screen layout, extensive functionality.
PUE HY10 terminal offers screen layout customization. You can display only those components that you find indispensable for your work.
You can make decision not only on what to add to your screen but also on the size of particular components. Self-designed screen layout makes your work easier, with this weighing is no longer a time-consuming process.
 
LABELLING
 
Ability to design labels for each terminal-performed process.
Labelling function, implemented into firmware, enables marking products with  weight labels. This makes product identification fast and easy.
Using ‘Label Editor’, a dedicated software, you can design label which upon being sent to the scale is available for the operator in label database. The label can provide data such as date, batch number, mass, pictogram, Ean-13 code with weight value and product code.
Labelling enables:
  • making Label Database in a terminal;
  • assigning either a customized label to a particular product or a common label to a group of products;
  • printing C labels (pallet) and CC labels (containers) providing total weight and quantity;
  • automatically triggered printout of c labels.
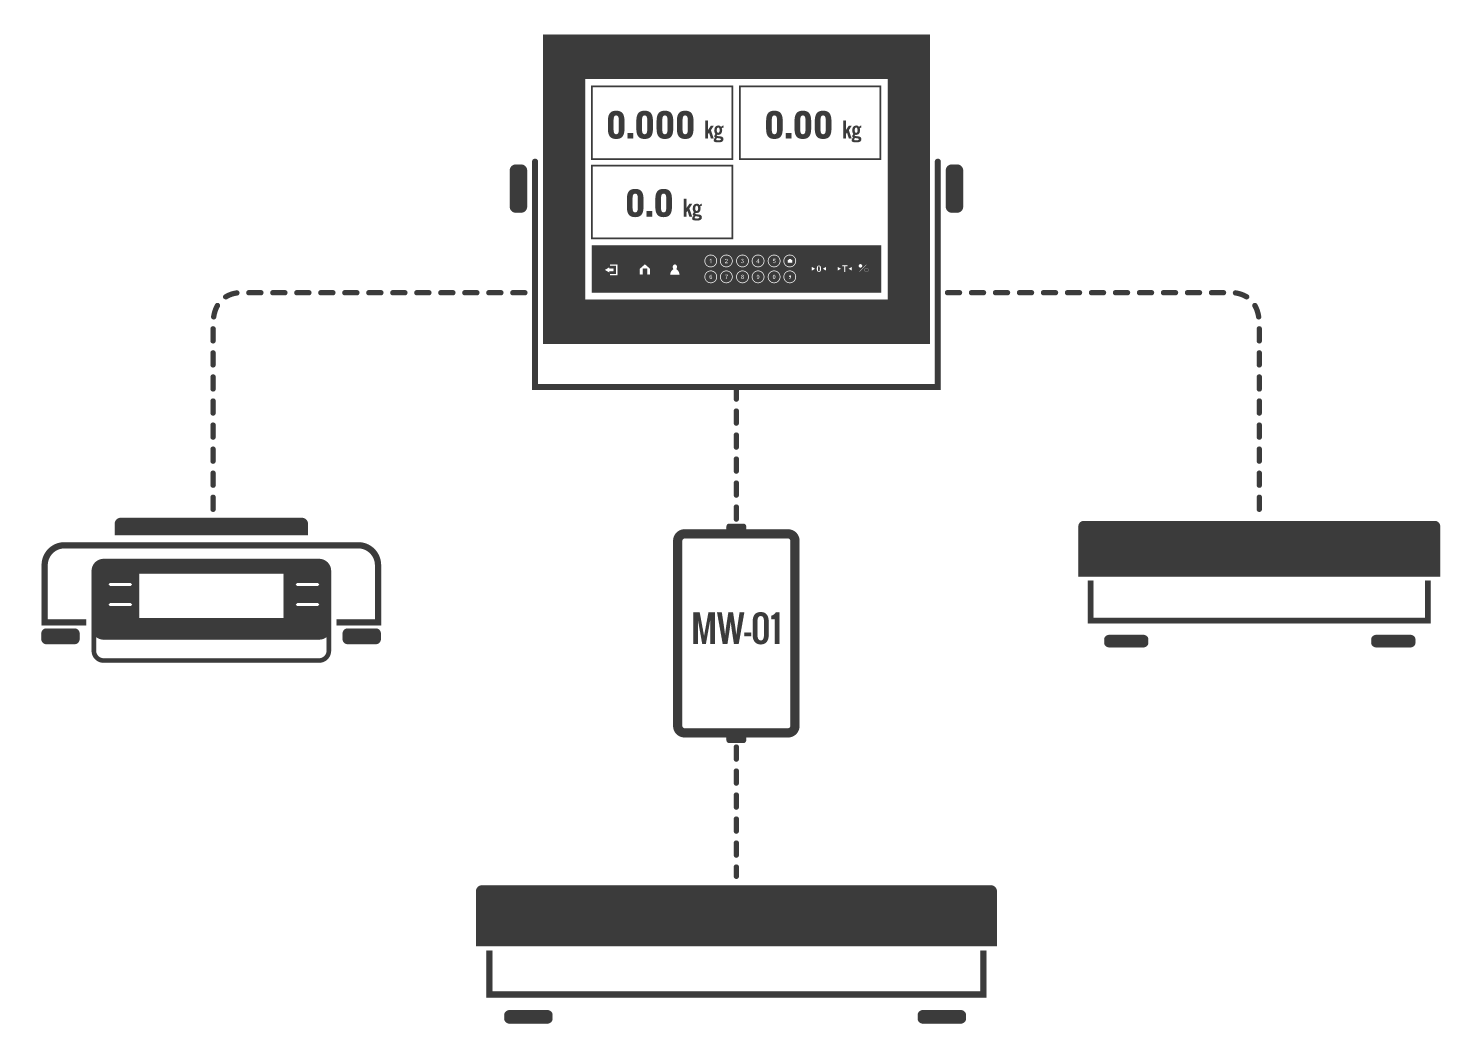


MULTI-PLATFORM OPERATION
Standard design: support of one load-cell platform
Optional design: support of 4 extra platforms maximum (2 internal modules plus 2 external modules)


Dedicated Applications
  • Smart Editor
The application is intended for scales equipped with the HY10 terminal. It does not require any additional installations. Enter the terminal’s address in the browser address field and log in.
The application enables:
  • remote database editing
  • import of images from the graphic file to the scale
  • import of labels from lb file to the scale
  • creating and preview of report, e.g. Workflow
  • dosing processes operation

     
  • Smart Display
Smart Display application allows to customize the scale screen, and to display it on a computer, all this in an easy and clear way. Particular elements must be simply placed on a screen grid. Next, they can be scaled to suit user needs.
The application run directly on the scale provides the user with a new, refreshed layout, and the possibility to configure the home screen. When operated via a browser on a computer, it enables remote control of the desktop, and display of enlarged mass indication.
To use the Smart Display application it is necessary to run the RDA module (RADWAG Data Access) on the HY10 terminal.

 
  • Extended Web Interface
The application has been designed to enable the user to create his own/her own program for the PUE HY10 terminal. It facilitates exchange of basic data via JSON websocket (mass request, zeroing, taring). The application can be basis for further development, done by adding of new components, and by use of extra commands presented in „HY10 - JSON Data Exchange Interface” manual.
Stainless Steel in RADWAG products
Learn about the use and maintenance of stainless steel products:
Stainless Steel in RADWAG products. Standard and special applications
Datasheet
OIML Class

II or III


Maximum quantity of verification units

6000 e


Minimum volatge per verification unit

0,4 µV


Maximum voltage per verification unit

3,25 µV


Minimum load cell impedance

50 Ω


Maximum load cell impedance

1200 Ω


Load cell excitation voltage

5V DC


Maximum increase of signal

19,5 mV


Connection of load cells

4 or 6 wires + shield


Display

10,1″ graphic colour touchscreen


Device dimensions

357×275×120

 mm

Packaging dimensions

420×350×230

 mm

Net weight

5,7

 kg

Gross weight

6,5

 kg

Protection class

IP 66 / 67 / 69


Touch panel

capacitive


Keypad

touch screen


Housing

Stainless steel


Communication interface

2×RS232, 2×USB-A, Ethernet, 4 IN / 4 OUT (digital)


Optional interfaces

module Wi-Fi® 802.11 b/g/n, module Profibus (DP SLAVE), module RS485, module PROFINET (RJ45), analog output module (4-20mA, 0-20mA, 0-10V) , 12IN / 12OUT (IN – 5-24 VDC, OUT – max 30 VDC, 0,5 ADC)


Operating temperature

-10 – +40

 °C

Relative humidity

10% – 85% RH no condensation


Operating system

Linux


Processor

quad-core 64-bit Cortex-A53 1,2 GHz


Memory

RAM 1GB LPDDR2


Data memory

16 GB (micro SD)


Max number of platforms

4


CE
2 years warranty
Videos
High Resolution Scales by RADWAG – Extremely Robust & Impressively Accurate
Complete Solutions for Mass Measurement in Pharma Industry
PUE HY10 Weighing Indicator
Functions
Dosing

Dosing

Weighing process for which reference mass has been determined together with tolerance for its determination. Dosing tolerance is given in [%] and it is calculated in relation to the reference value thus being a permissible deviation of this process. This solution is used for weighing powders, liquids and loose materials. Dosing function performance is often supported with bargraph - load indicator. For industrial scales it is possible to use a control systems of dosing process.
Labelling

Labelling

Marking products with the right symbols contributes to quick and reliable identification. The balance/scale usually transfers product mass or product quantity to the label printer. The transferred value is printed with the following information: bar code, pictogram, content, address etc. In laboratory the labelling is performed in a semi-automatic mode, for industry in an automatic one (dynamic scales).
Plus/Minus Control

Plus/Minus Control

Control of sample's mass carried out with reference to specified MIN and MAX thresholds. The weight is considered to be correct if it is comprised within threshold values. A graphic visualisation of weighing result is displayed in a form of a bar graph.
Percent Weighing

Percent Weighing

Percent Weighing function is used for comparision of measured products with mass standard. Mass of a mass standard may be a numeric value taken from a database or it may be determined through a measurement process. Each measured product is compared to mass standard, mass of which is presumed as a model 100% ideal mass. For products weighing less than the mass standard, obtained results are lower than 100%, for products weighing more, the obtained results are greatly  exceeded.
Totalizing

Totalizing

Function adding new mass value to already obtained one. This allows to determine mass content of the mixture, being a composition of number of different consistence components. Totalizing is limited by maximum capacity parameter.
Parts counting

Parts counting

Function using mass measurement for determination of  measured items quantity. Mass of a single item is required for this process. It may be either estimated through weighment or taken from a database. For items counting the following algorithm is used: all items mass / single item mass = quantity. Function operation is supperted by a mechanism of Automatic Correction of Accuracy. This allows to update single item mass in course of the process. To a certain extend Automatic Correction of Accuracy eliminates error which may be a result of different mass values of seemingly alike single elements. For industry solutions items counting may be simultaneously carried out with checkweighing and dosing thus industry solutions feature audio signalling base informing that specified number of items has been weighed. It is possible to apply weighing systems using few platfroms of different MAX capacities and different accuracies.
Peak hold

Peak hold

Function registering the greatest temporary indication occurring in course of the weighing process. It is most often used in medical scales in order to hold the measurement indication.
Formulation

Formulation

Function supporting the mixture making process, wherein the mixture contains various components. Formulation function usually uses the balance/scale database of components. Formulation serves for monitored checkweighing of every single component with a given tolerance. It is enriched with a set of individual settings.
Statistics

Statistics

Statistiscs function registers and analyses performed measurements. This supplies the user withthe following information: Max and Min standard deviation, average value, variance, range et.
Checkweighing

Checkweighing

Checkweighing function is used for checking whether the measured sample mass is within the predefined threshold values, Low [LO] and Hgh [HI]. The thresholds are given in [g] and [kg] units. Current state of a sample being measured is signalled by means of pictorgams located on a display for laboratory balances, for industrial scales Stackligt System is used. This visual +/- inspection is in operation during segregation, control or packing process of products for which mass has bees determined with a specifaied tolerance, eg. 12860 g 961
GLP Procedures

GLP Procedures

Diagnostic function allowing to objectively document performed measurements. GLP procedures may be either presented in a short report form or extended one.
Animal weighing

Animal weighing

Process of mass determination for a product which may unwillingly reposition within the weighing pan. Mass determination in such cases requires much longer period of time when compared to typical weighing process. It is the user who defines period of time needed for control of measured product mass. The user can thus optimize the function depending on the measured product characteristics.
Differential weighing

Differential weighing

Differential weighing informs about mass variation a particular sample, wherein the said variation is a result of manufacturing processes.

Differential weighing is often applied in product control process, for which reference product parameters have been specified in order to be used as a source of comparison for the whole series.
Insuchcasestandard deviation is the information which tells about quality and completeness of a final product. For systems based on a feed-back technique such information may be used by control units.
Replaceable unit

Replaceable unit

Replaceable units.
Statistical Quality Control

Statistical Quality Control

Statistical control for determination of basic statistical criteria: maximum, minimum, standard deviation, mean values for each batch, etc.
ALIBI Memory

ALIBI Memory

"ALIBI" memory enables saving and storing up to 100000 measurements.  Measurements are saved automatically upon each pressing of the key. There is no need for any additional operations or changing settings.
The following data related with the measurements is saved: measurement date; measurement time; result (mass); tare value; operator carrying out the measurement (logged in); product name.
The software saves the measurement in a so called loop, i.e. when the measurement no. 100001 is saved, the measurement 1 gets automatically deleted from the memory.
Measurements saved to balance memory cannot be deleted.
You can preview and print out the data saved to the ALIBI database.
Transactions

Transactions

Complex weighing mode for registration of weighings that are part of transactions such as sale, purchase and warehouse transfer. You can create a new transaction using the scale. It is possible to pause the transaction or abort it.  The function supports warehouse management in an enterprise.
Documentation
Data Sheet Data Sheet
Data Sheet

View
View
Download
Download

Choose more product:
View View DownloadDownload
Software Manual - CBCP 03
View
View
Download
Download
(0.23 MB)
User Manual - PUE HY10
View
View
Download
Download
(2.19 MB)
Start up Guide
Start up Guide
View
View
Download
Download
(1.38 MB)
User Manual - HY10 multifunctional scales
View
View
Download
Download
(1.88 MB)
 Software Manual - PUE HY10
Software Manual - PUE HY10
View
View
Download
Download
(7.10 MB)
Software Manual - Radwag-Mass -Node-RED
View
View
Download
Download
(0.57 MB)
 Software Manual - PROFIBUS communication protocol of PUE HY10
Software Manual - PROFIBUS communication protocol of PUE HY10
View
View
Download
Download
(0.65 MB)
User Manual - MODBUS Protocol in RADWAG Indicators
View
View
Download
Download
(1.32 MB)
Software Manual - MODBUS communication protocol of PUE 7.1 / PUE HY10
View
View
Download
Download
(0.82 MB)
Software Manual - Appendices 01
View
View
Download
Download
(1.81 MB)
User Manual - Connecting External Platform
View
View
Download
Download
(0.99 MB)
 Software Manual - PROFINET communication protocol of PUE HY10
Software Manual - PROFINET communication protocol of PUE HY10
View
View
Download
Download
(1.82 MB)
Conformity Declaration
View
View
Download
Download
(0.04 MB)
THBR System 2.0
THBR System 2.0
View
View
Download
Download
(5.17 MB)
Stainless Steel in RADWAG products. Standard and special applications
View
View
Download
Download
(2.23 MB)
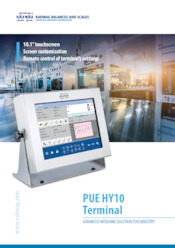
PUE HY10 - Weighing Terminal
View
View
Download
Download
(2.55 MB)
Terminals and Platforms
View
View
Download
Download
(3.70 MB)
Download
Drivers

Plik GSD Profibus (1.321 KB)

GSD do Profinet (4.574 KB)

Accessories

Newsletter

If you wish to receive the latest news about RADWAG products and services, sign up for the newsletter.

More
Radwag Balances and Scales
Torunska 5
26-600 Radom
Poland
tel.: +48 48 386 60 00
e-mail: export@radwag.com
TIN: PL7960000327
Vimeo Radwag YouTube Radwag Facebook Radwag LinkedIn Radwag
© 2024 RADWAG Balances and Scales. All rights reserved.

Select language

×
Change language AlbanianAlbanian
Change language DanishDanish
Change language NederlandseNederlandse
Change language EstonianEstonian
Change language FinnishFinnish
Change language HungarianHungarian
Change language IcelandicIcelandic
Change language KazakhKazakh
Change language LatvianLatvian
Change language LithuanianLithuanian
Change language MacedonianMacedonian
Change language NorwegianNorwegian
Change language PortuguesePortuguese
Change language RomanianRomanian
Change language RussianRussian
Change language SlovakSlovak
Change language SlovenianSlovenian
Change language SwedishSwedish
Change language UkrainianUkrainian
Change language SerbianSerbian
Change language MontenegrinMontenegrin
Change language page on Deutsch Deutsch
Change language page on English English
Change language page on Español Español
Change language page on Français Français
Change language page on Italiano Italiano
Change language page on Polski Polski
Change language page on Türkiye Türkiye
Česky
Português (Brasil)
Change website to USA USA
Change language page on 中文 中文
Presentations Presentations Presentations
Subscribe Subscribe Subscribe
Radwag in Facebook Radwag in Facebook Facebook
Radwag in YouTube Radwag in YouTube Youtube
Radwag in Vimeo Radwag in Vimeo Vimeo
Radwag in LinkedIn Radwag in LinkedIn LinkedIn
Webinars Radwag Webinars Radwag Webinars
close
E-mail:
Company name:
Name:
I consent to the processing of my personal data for marketing purposes by Radwag Wagi Elektroniczne Witold Lewandowski.
I consent to receive marketing and product-related messages by electronic means from Radwag Wagi Elektroniczne Witold Lewandowski.
I have read the Privacy Policy of RADWAG Wagi Elektroniczne Witold Lewandowski.
lock_openI want to access the files
close
Slide to go back ↩