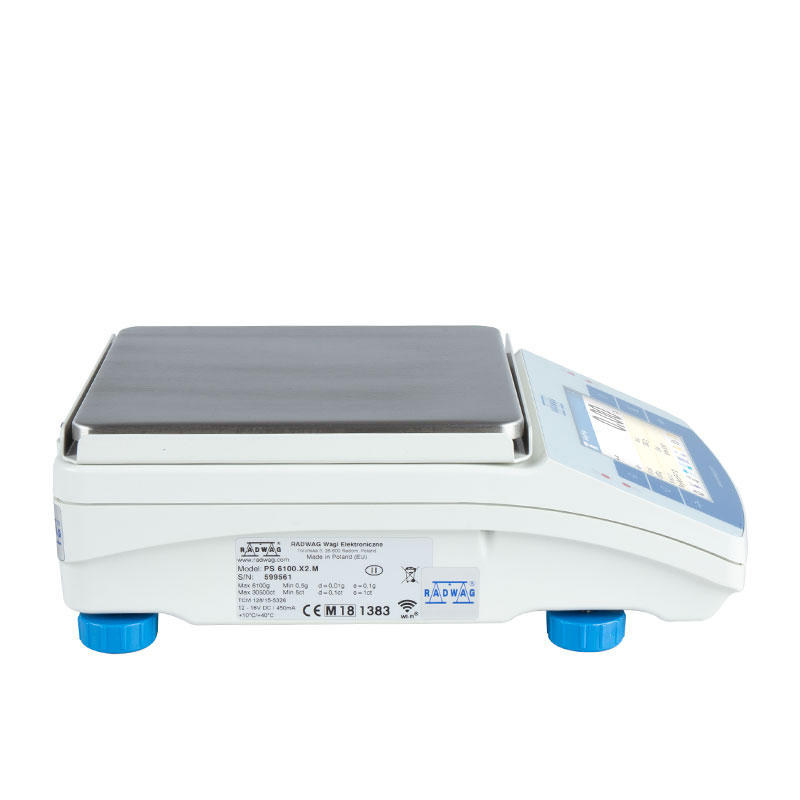
Bilancia di precisione PS 3500.X2.M

Radwag Bilance e sistemi di pesatura
Selected language Italiano
Obraz
This image is for reference only.

Bilancia di precisione PS 3500.X2.M

Codice prodotto: WL-218-0134
Modifica del modello (13)
done
Max: 3500gd: 10mg

 195×195mm
expand_more
Max: 200 / 2000gd: 1 / 10mg

 128×128mm
Max: 210gd: 1mg

 128×128mm
Max: 360gd: 1mg

 128×128mm
Max: 600gd: 1mg

 128×128mm
Max: 750gd: 1mg

 128×128mm
Max: 1000gd: 1mg

 128×128mm
Max: 2100gd: 10mg

 195×195mm
Max: 3000gd: 1mg

 128×128mm
Max: 4500gd: 10mg

 195×195mm
Max: 6100gd: 10mg

 195×195mm
Max: 8100gd: 10mg

 195×195mm
Max: 10100gd: 10mg

 195×195mm
Portata massima [Max]: 3500 g
Divisione [d]: 10 mg

close
Modifica del modello:
Bilancia di precisione PS 200/2000.X2
Bilancia di precisione PS 210.X2
Bilancia di precisione PS 360.X2
Bilancia di precisione PS 600.X2
Bilancia di precisione PS 750.X2
Bilancia di precisione PS 1000.X2
Bilancia di precisione PS 2100.X2.M
Bilancia di precisione PS 3000.X2
Bilancia di precisione PS 3500.X2.M
Bilancia di precisione PS 4500.X2.M
Bilancia di precisione PS 6100.X2.M
Bilancia di precisione PS 8100.X2.M
Bilancia di precisione PS 10100.X2.M
Select all
Vista
Salva
Aggiungere a confrontare
Caratteristiche generali

Bilancia di precisione PS 3500.X2.M


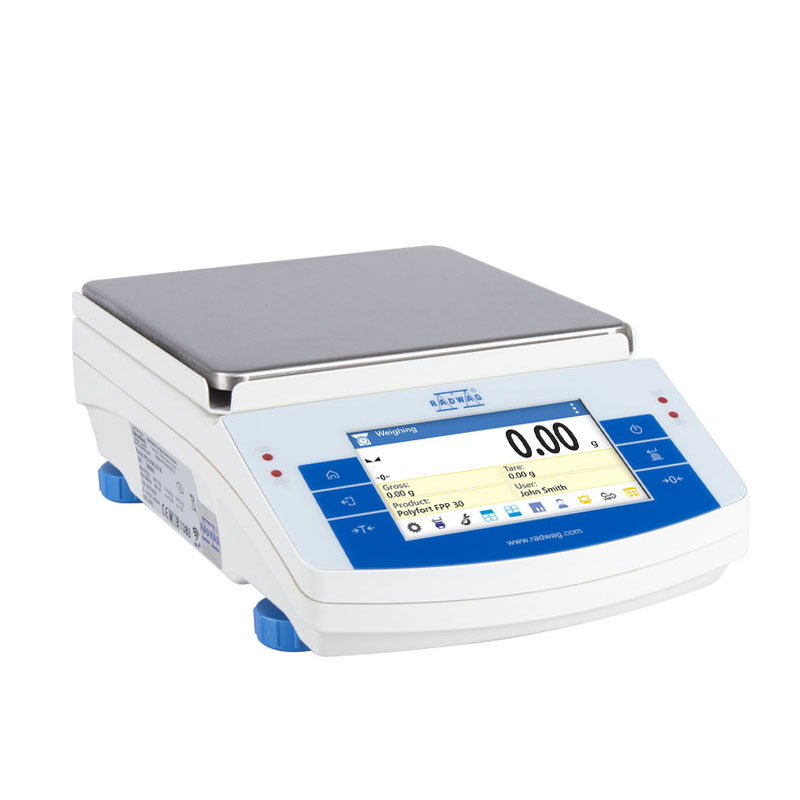
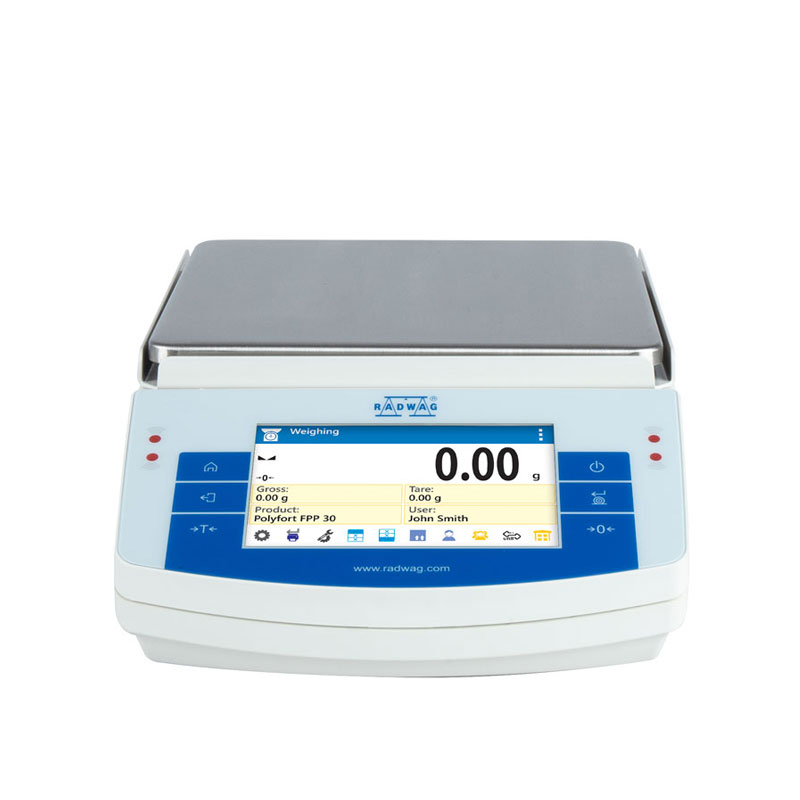
PS X2.M

is a series of advanced-class precision balances of high resolution based on 

MONO

BLOCK
 technology. The innovative construction of PS X2.M balance features a new single-point weighing pan fastening, which ensures its excellent geometry and minimizes eccentricity error. The labyrinth-shape fastening guarantees excellent resistance to contamination.


Weighing module

MONO

BLOCK
technology enables weighing loads with the readability of d=0.01 g at the maximum capacity of 10 kg. Rigid base ensures stability of the weighing system and great resistance to shocks.

Internal adjustment system means precision and high measurement repeatability. Leverage of internal weight mass enables adjustment within the whole measuring range.


Features:

  • d=0.01 g readability at 10 kg max capacity
  • great resistance to ambient conditions
  • stability and repeatability over time
  • MONO

    BLOCK technology
  • internal adjustment within the whole measuring range
  • complex databases and ALIBI memory
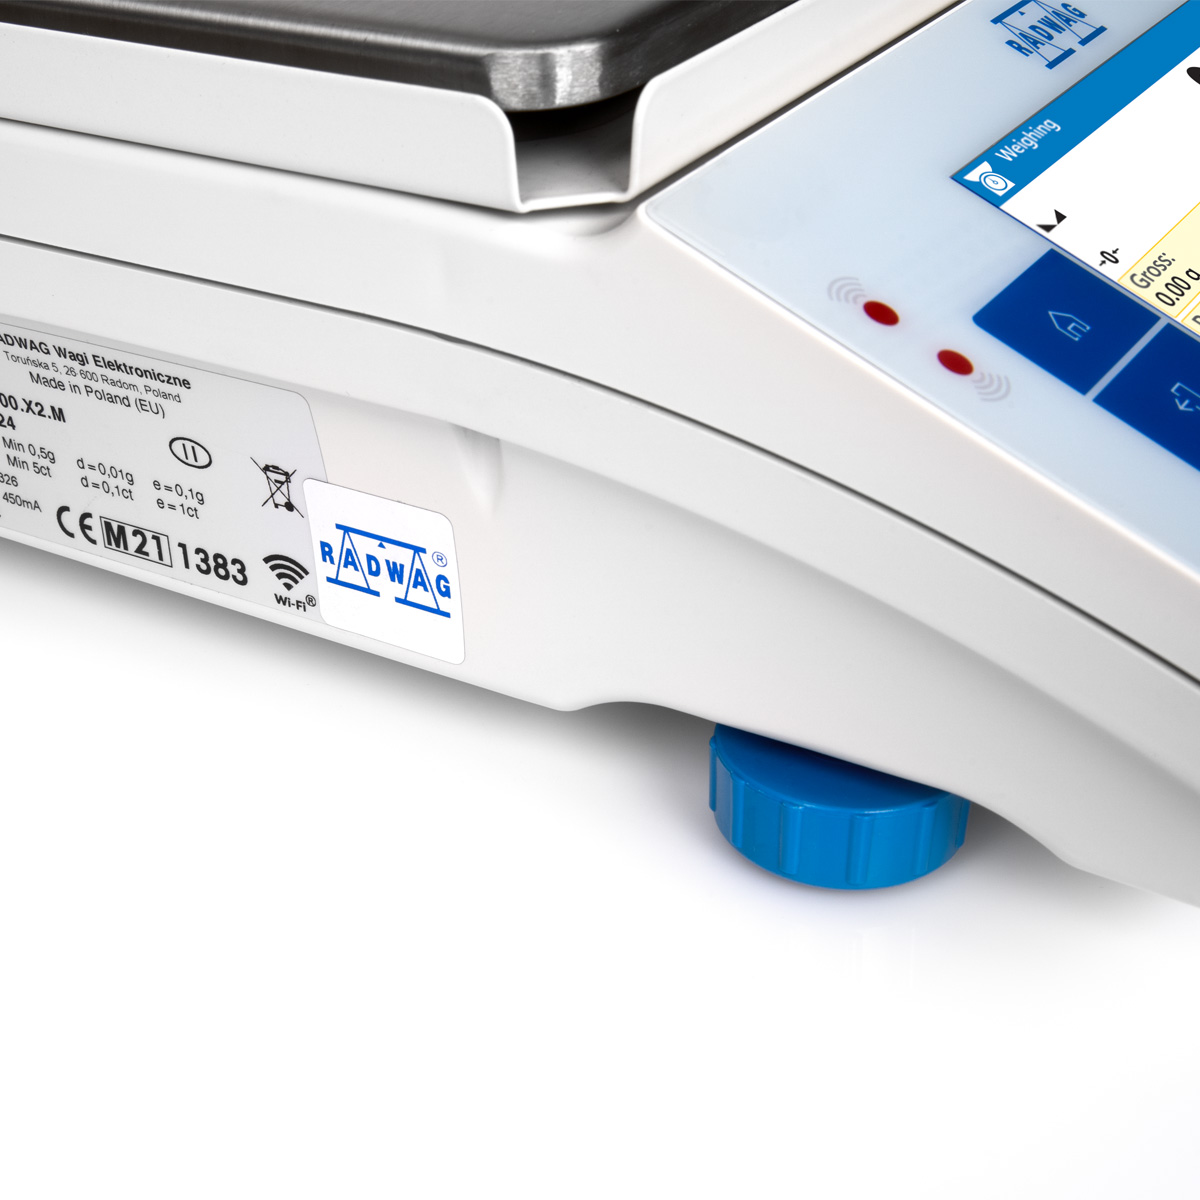
  • ergonomic 5” colour touchscreen
  • touch-free operation


Databases

The instrument allows saving completed measurement data as complex reports and graphs.
There are 7 databases:
  • Operators (max 100 entries),
  • Products (max 5 000 entries),
  • Weighings (max 50 000 entries),
  • Packaging (max 100 entries)
  • Formulations (max 100 entries),
  • Customers (max 1000 entries),
  • ALIBI memory (up to 512 000 weighments).
The balance enables creating formulation reports (max 500 entries).


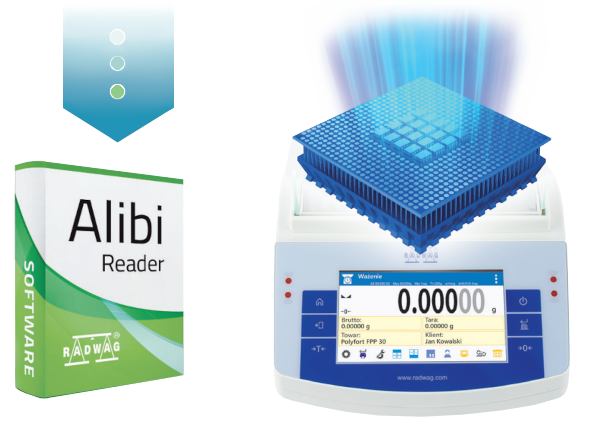
ALIBI memory

provides data protection and facilitates automatic measurement recording (max 512 000 weighing records). The memory facilitates data previewing, copying and archiving.


Communication

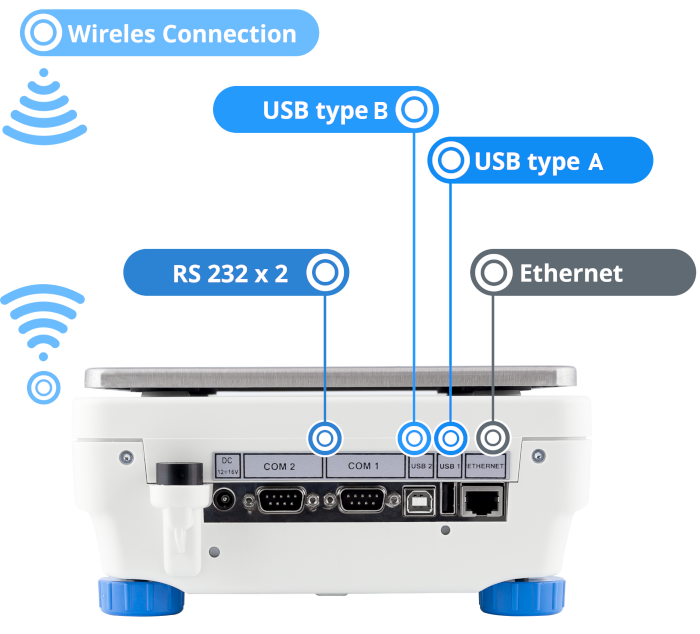
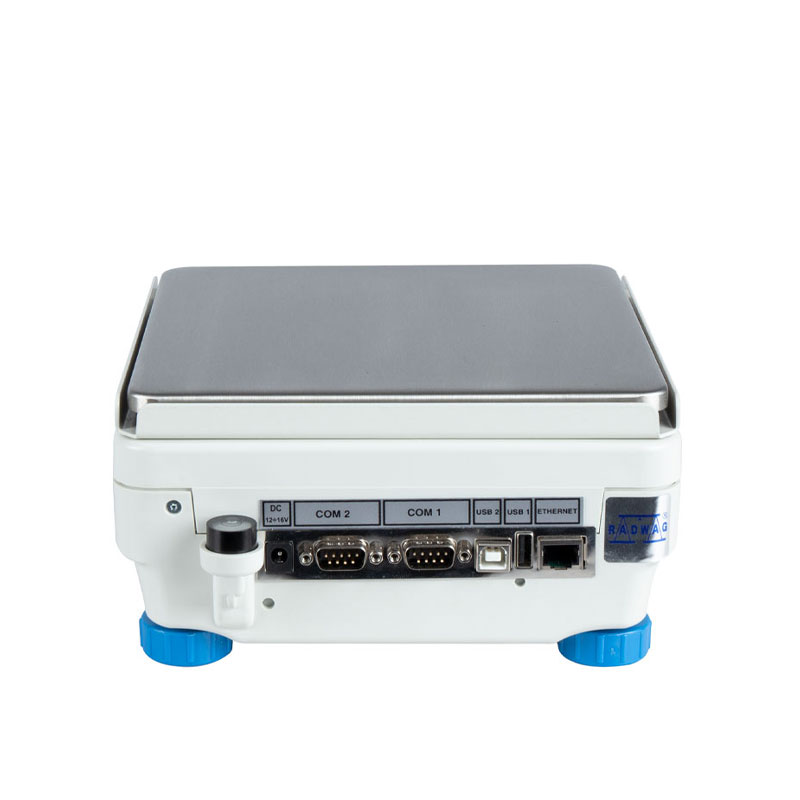
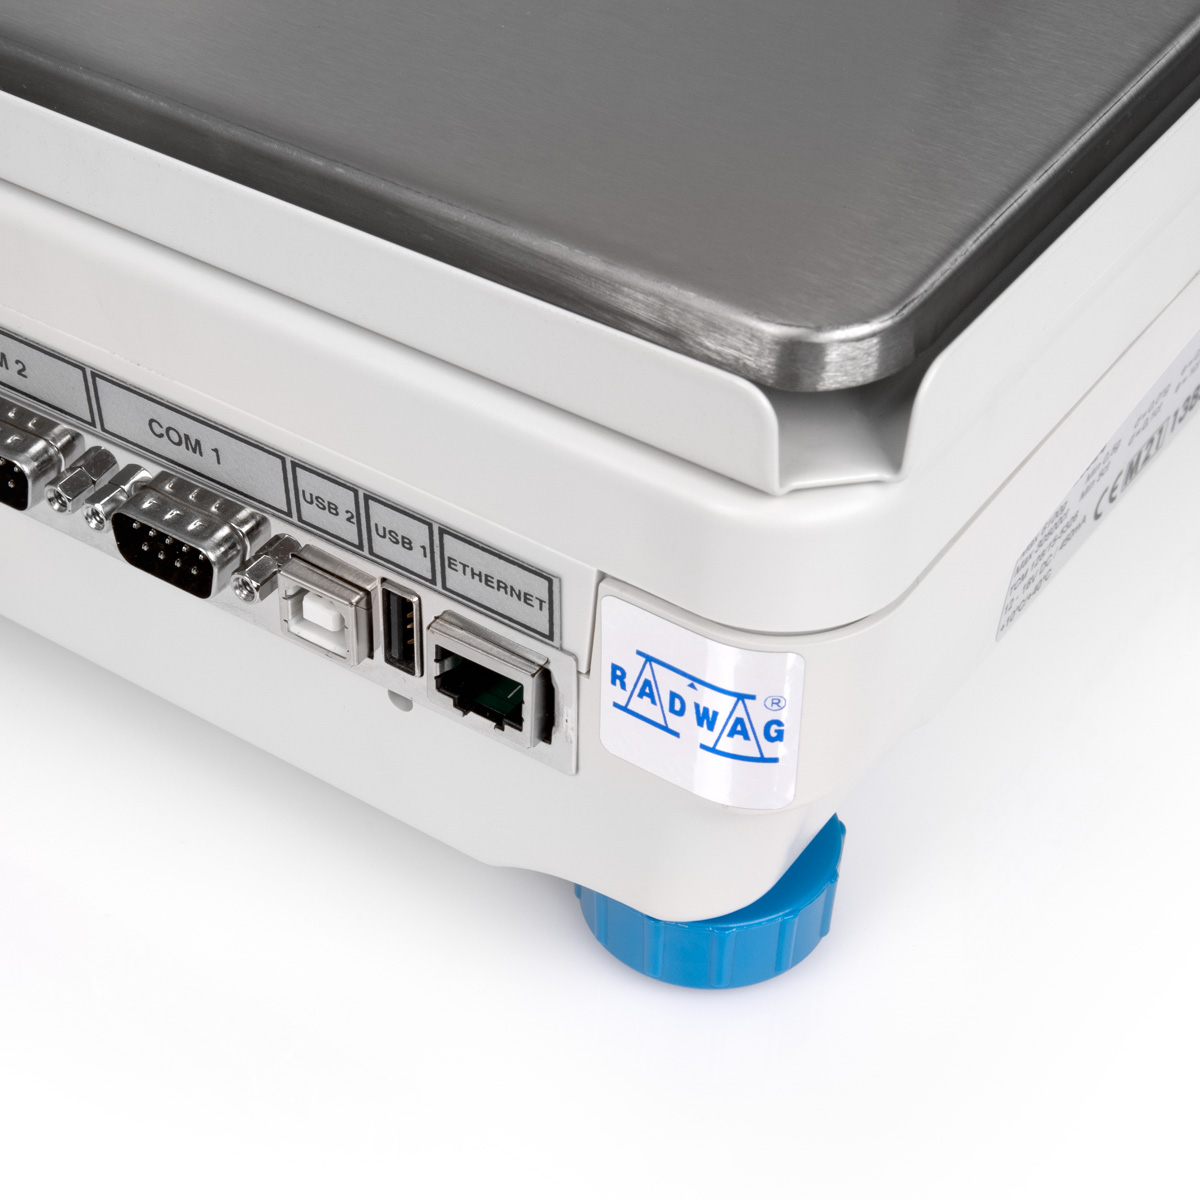
PS X2.M series is equipped with the following interfaces: 2 x RS 232, USB type A, USB type B, Ethernet and Wireless Connection.

USB allows for fast transfer and copying of work results (measurements, reports, databases) to a computer or other weighing device. The balance provides possibility of remote data management.
 
 
Stainless Steel in RADWAG products
Learn about the use and maintenance of stainless steel products:
Stainless Steel in RADWAG products. Standard and special applications
Specifiche
Portata massima [Max]

3500

 g

Portata minima [Min]

500

 mg

Divisione [d]

10

 mg

Intervallo di verifica della bilancia [e]

100

 mg

Campo di tara

-3500

 g

Ripetibilità standard [5% Max]

5

 mg

Ripetibilità standard [Max]

8

 mg

Peso standard minimo (USP)

10

 g

Peso standard minimo (U = 1%, k = 2)

1

 g

Linearità

±20

 mg

Tempo di stabilizzazione

1,5

 s

Calibrazione

internal (automatic)


Classe OIML

II


Sistema di livellamento

manual


Display

5” graphic color touchscreen


Componenti del kit

Balance, weighing pan, weighing pan shield, power supply


Dimensione piatto

195×195

 mm

Dimensioni del pacco

475×380×345

 mm

Peso netto

4,33

 kg

Peso lordo

5,5

 kg

Punteggio IP

IP 43


Capacita del database

7


Operazione senza comandi diretti

2 IR Sensors


Interfaccia

2×RS232¹, USB-A, USB-B, Ethernet, Wi-Fi®


Alimentatore

Adapter: 100 – 240V AC 50/60Hz 0,6A; 12V DC 1,2A
Balance: 12 – 15V DC 0,8A max


Consumo di energia

4 W


Ambiente di lavoro

+10 – +40

 °C

Modulo misura parametri ambientali (opzionale)

THBR 2.0 System, THBR BOX, THB P, THB W, THB S


Umidità relativa

40% – 80%


CE
Verifica Extra payment
for verification
La ripetibilità è espressa come deviazione standard di 10 posizionamenti dello standard di massa.
Il tempo di stabilizzazione dipende dalle condizioni esterne e dalla dinamica di posizionamento del carico sul piatto; specificato per il profilo FAST.
1Gli lettori di codici a barre disponibili come accessorio funzionano con la bilancia utilizzando solo l'interfaccia RS232.
360°
Video
X2 Balances: WEIGHING - Working modes: part 1
Stampa facile con l’RTP-UEW80 con Wi-Fi®®
Connecting RADWAG RTP-UEW80 Printer via Wi-Fi® (Tutorial)
PS R2 Precision Balance Unpacking and Installation (Tutorial)
Parts Counting function in Radwag weighing instruments
RTP - The First Receipt Printer of RADWAG Production!
Complete Solutions for Mass Measurement in Pharma Industry
X2 Balances: STATISTICS - Working modes: part 8
X2 Balances: LIQUIDS DENSITY - Working modes: part 7
X2 Balances: SOLIDS DENSITY - Working modes: part 6
X2 Balances: PERCENT WEIGHING - Working modes: part 5
X2 Balances: PARTS COUNTING - Working modes: part 4
X2 Balances: CHECKWEIGHING - Working modes: part 3
X2 Balances: DOSING - Working modes: part 2
X2 Synergy Balances: operating modes overview
X2 Synergy Balances
Funzioni
Autotest

Autotest

Diagnostic function aiming at metrological parameters determination (repeatability), the parameters are determined for the actual conditions of use. When speaking of repeatability it may be also used for weighing time optimization. Autotest is operated in an automatic mode thus operator’s time is saved.
Dosing

Dosing

Weighing process for which reference mass has been determined together with tolerance for its determination. Dosing tolerance is given in [%] and it is calculated in relation to the reference value thus being a permissible deviation of this process. This solution is used for weighing powders, liquids and loose materials. Dosing function performance is often supported with bargraph - load indicator. For industrial scales it is possible to use a control systems of dosing process.
Plus/Minus Control

Plus/Minus Control

Control of sample's mass carried out with reference to specified MIN and MAX thresholds. The weight is considered to be correct if it is comprised within threshold values. A graphic visualisation of weighing result is displayed in a form of a bar graph.
Percent Weighing

Percent Weighing

Percent Weighing function is used for comparision of measured products with mass standard. Mass of a mass standard may be a numeric value taken from a database or it may be determined through a measurement process. Each measured product is compared to mass standard, mass of which is presumed as a model 100% ideal mass. For products weighing less than the mass standard, obtained results are lower than 100%, for products weighing more, the obtained results are greatly  exceeded.
Parts counting

Parts counting

Function using mass measurement for determination of  measured items quantity. Mass of a single item is required for this process. It may be either estimated through weighment or taken from a database. For items counting the following algorithm is used: all items mass / single item mass = quantity. Function operation is supperted by a mechanism of Automatic Correction of Accuracy. This allows to update single item mass in course of the process. To a certain extend Automatic Correction of Accuracy eliminates error which may be a result of different mass values of seemingly alike single elements. For industry solutions items counting may be simultaneously carried out with checkweighing and dosing thus industry solutions feature audio signalling base informing that specified number of items has been weighed. It is possible to apply weighing systems using few platfroms of different MAX capacities and different accuracies.
Peak hold

Peak hold

Function registering the greatest temporary indication occurring in course of the weighing process. It is most often used in medical scales in order to hold the measurement indication.
Formulation

Formulation

Function supporting the mixture making process, wherein the mixture contains various components. Formulation function usually uses the balance/scale database of components. Formulation serves for monitored checkweighing of every single component with a given tolerance. It is enriched with a set of individual settings.
Statistics

Statistics

Statistiscs function registers and analyses performed measurements. This supplies the user withthe following information: Max and Min standard deviation, average value, variance, range et.
Checkweighing

Checkweighing

Checkweighing function is used for checking whether the measured sample mass is within the predefined threshold values, Low [LO] and Hgh [HI]. The thresholds are given in [g] and [kg] units. Current state of a sample being measured is signalled by means of pictorgams located on a display for laboratory balances, for industrial scales Stackligt System is used. This visual +/- inspection is in operation during segregation, control or packing process of products for which mass has bees determined with a specifaied tolerance, eg. 12860 g 961
IR sensors

IR sensors

Programmable function supporting the weighing process through control of the following options: sliding weighing chamber doors, printout, zeroing, tarring etc. Especially appreciated wherever preventing the balance from soiling is important.
Under-pan weighing

Under-pan weighing

The solution enables weighing with use of a stand, which is advisable for loads of non-standard shapes and dimensions and those that generate magnetic field.
GLP Procedures

GLP Procedures

Diagnostic function allowing to objectively document performed measurements. GLP procedures may be either presented in a short report form or extended one.
Animal weighing

Animal weighing

Process of mass determination for a product which may unwillingly reposition within the weighing pan. Mass determination in such cases requires much longer period of time when compared to typical weighing process. It is the user who defines period of time needed for control of measured product mass. The user can thus optimize the function depending on the measured product characteristics.
Density determination

Density determination

Liquid or solid body density function uses the Archimedes principle and it requires a special kit to be applied. The kit when used, replaces a weighing pan. For solids mass of the sample must be determined first in the air, next in the liquid of specified density. For liquids the so called sinker, density of which has been determined, must be measured first in the air, next in the tested liquid. The density determination process is disturbed by air bubbles which may stick either to the measured sample or the sinker. In case of laboratory equipment very light solids may be measured. For industry, solid bodies density may be determined by means of  under-pan weighing. Tested load of significant size may be measured this way.
Ambient conditions monitoring

Ambient conditions monitoring

The possibility of cooperation with the THBR 2.0 system
Replaceable unit

Replaceable unit

Replaceable units.
Statistical Quality Control

Statistical Quality Control

Statistical control for determination of basic statistical criteria: maximum, minimum, standard deviation, mean values for each batch, etc.
ALIBI Memory

ALIBI Memory

"ALIBI" memory enables saving and storing up to 100000 measurements.  Measurements are saved automatically upon each pressing of the key. There is no need for any additional operations or changing settings.
The following data related with the measurements is saved: measurement date; measurement time; result (mass); tare value; operator carrying out the measurement (logged in); product name.
The software saves the measurement in a so called loop, i.e. when the measurement no. 100001 is saved, the measurement 1 gets automatically deleted from the memory.
Measurements saved to balance memory cannot be deleted.
You can preview and print out the data saved to the ALIBI database.
Mass for titrator

Mass for titrator

'Mass value for a titrator' working mode enables establishing connection between the weighing device and a titrator. The titrator receives information about the quantity of dispensed mass, and the weighing instrument receives a signal to start subsequent weighing.

Wi-Fi®

Wi-Fi®

Thanks to wireless communication between the computer and a balance, it is possible to use a balance inside a laminar flow hood and a fume cupboard.

Documentazione
Data Sheet Data Sheet
Data Sheet

Vista
Vista
Salva
Salva

Choose more product:
Vista Vista SalvaSalva
User Manual
User Manual
Vista
Vista
Salva
Salva
(25.49 MB)
21 CFR Part 11 Compliance Module
Vista
Vista
Salva
Salva
(1.75 MB)
User Manual - X2 series balances
Vista
Vista
Salva
Salva
(25.49 MB)
Start up Guide
Start up Guide
Vista
Vista
Salva
Salva
(1.22 MB)
Conformity Declaration
Vista
Vista
Salva
Salva
(0.04 MB)
Laboratory balance cleaning
Vista
Vista
Salva
Salva
(2.52 MB)
RTP Thermal Receipt Printer
Vista
Vista
Salva
Salva
(1.64 MB)
USB Free Link - Direct Balance-PC Communication
Vista
Vista
Salva
Salva
(2.07 MB)
Lexicon of Basic Metrological Terms
Vista
Vista
Salva
Salva
(6.31 MB)
Laboratory Balances
Laboratory Balances
Vista
Vista
Salva
Salva
(1.68 MB)
Stainless Steel in RADWAG products. Standard and special applications
Vista
Vista
Salva
Salva
(2.23 MB)
X2 Series Balances
X2 Series Balances
Vista
Vista
Salva
Salva
(4.89 MB)
Defined Weighing Profiles
Vista
Vista
Salva
Salva
(1.36 MB)
Software
Drivers

RADWAG USB DRIVER 1.6.2 (1.25 MB)

Accessori

Newsletter

If you wish to receive the latest news about RADWAG products and services, sign up for the newsletter.

More
Radwag bilance e sistemi di pesatura
Torunska 5
26-600 Radom
Poland
tel.: +48 48 386 60 00
e-mail: export@radwag.com
TIN: PL7960000327
Vimeo Radwag YouTube Radwag Facebook Radwag LinkedIn Radwag
© 2024 Radwag bilance e sistemi di pesatura. Diritti riservati

selezionare

×
Change language AlbanianAlbanian
Change language DanishDanish
Change language NederlandseNederlandse
Change language EstonianEstonian
Change language FinnishFinnish
Change language HungarianHungarian
Change language IcelandicIcelandic
Change language KazakhKazakh
Change language LatvianLatvian
Change language LithuanianLithuanian
Change language MacedonianMacedonian
Change language NorwegianNorwegian
Change language PortuguesePortuguese
Change language RomanianRomanian
Change language RussianRussian
Change language SlovakSlovak
Change language SlovenianSlovenian
Change language SwedishSwedish
Change language UkrainianUkrainian
Change language SerbianSerbian
Change language MontenegrinMontenegrin
Change language page on Deutsch Deutsch
Change language page on English English
Change language page on Español Español
Change language page on Français Français
Change language page on Polski Polski
Change language page on Türkiye Türkiye
Česky
Português (Brasil)
Change website to USA USA
Change language page on 中文 中文
Presentations Presentations Presentations
Subscribe Subscribe Subscribe
Radwag in Facebook Radwag in Facebook Facebook
Radwag in YouTube Radwag in YouTube Youtube
Radwag in Vimeo Radwag in Vimeo Vimeo
Radwag in LinkedIn Radwag in LinkedIn LinkedIn
Webinars Radwag Webinars Radwag Webinars
close
E-mail
nome azienda:
Nome:
I consent to the processing of my personal data for marketing purposes by Radwag Wagi Elektroniczne Witold Lewandowski.
I consent to receive marketing and product-related messages by electronic means from Radwag Wagi Elektroniczne Witold Lewandowski.
I have read the Privacy Policy of RADWAG Wagi Elektroniczne Witold Lewandowski.
lock_openI want to access the files
close
Slide to go back ↩